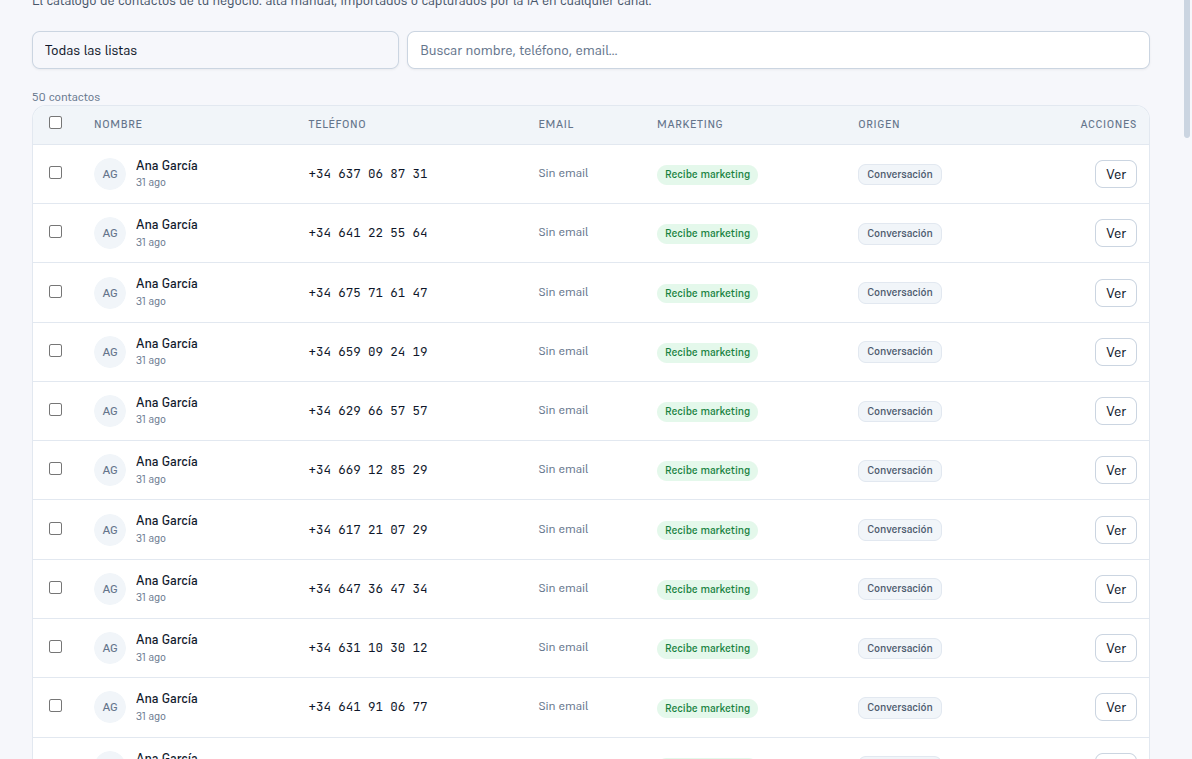
A contact is anyone your agency has talked to or that you’ve created by hand — it lands here as soon as the AI verifies their phone in a conversation on any channel (section 5), when you import them from a CSV (section 8), or when you create them manually (section 3).
- Go into Contacts.
- Use the “All lists” dropdown to filter by a specific list (section 7), or leave it as is to see the full catalog.
- Use the “Search name, phone, email…” box to find a specific contact.
Result: the table, with the total number of contacts at the top (for example “50 contacts”).
Table columns:
| Column | What it shows |
|---|---|
| Name | The contact’s name, or “No name” if it hasn’t been filled in yet; below it, the sign-up date. |
| Phone | In international format. |
| Or “No email” if none has been recorded. | |
| Marketing | “Receives marketing” (green chip) or “Unsubscribed” (gray chip) — the contact’s consent (section 4.2). |
| Source | “Conversation” (captured by the AI), “Manual” (created by hand) or “Imported” (came from a CSV). |
| Actions | The View button, to open the contact’s record (section 4). |
The checkboxes on the left of each row let you select several contacts at once, to add or remove them from a list in one go (section 7).