Allowed domains
Section titled “Allowed domains”You can restrict which sites your widget works on. It’s configured in Settings → Widget customization →
Allowed domains, writing one domain per line (without https:// or a path): for example
youragency.com. If you paste a full URL, the platform automatically converts it to the domain when saving.
Warning — With the list empty (the default), the widget works on any site.
As soon as you add at least one domain, the widget only connects from those domains and their subdomains:
youragency.comalso coverswww.youragency.comandblog.youragency.com, butwww.youragency.comdoes NOT coveryouragency.comon its own. A similar-looking domain (e.g.other-youragency.com) never matches. If the domain isn’t authorized, the chat can’t open a session with the backend — this is a common cause of “the widget shows up but doesn’t respond” (see chapter 5).
Tip: register the root domain (youragency.com) to cover the www variant and your subdomains in one go;
add any other domain where you also embed the snippet separately (for example, a staging environment).
Widget customization
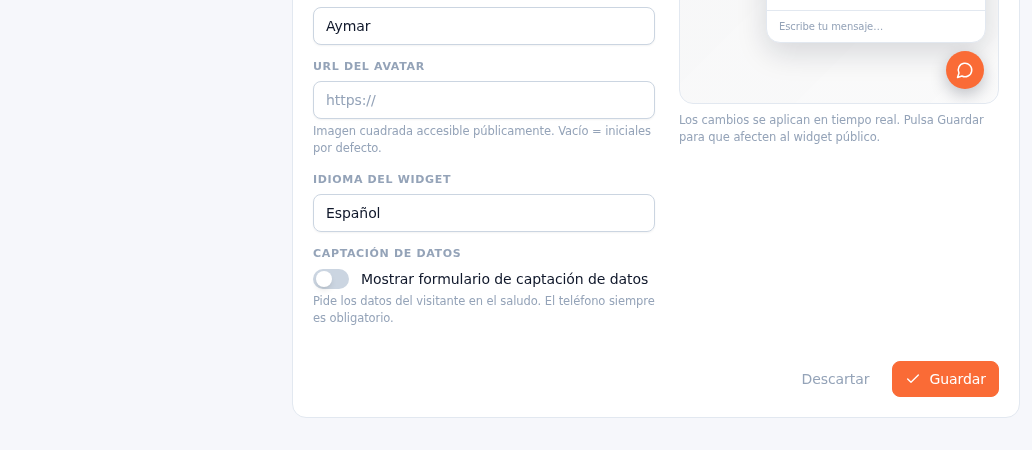
Section titled “Widget customization”The chat’s look and greeting are configured in Settings → Widget customization: primary color, button position (bottom right or bottom left), welcome message, assistant name and avatar URL. Changes show up immediately in that same screen’s preview; click “Save” to apply them to the public widget.